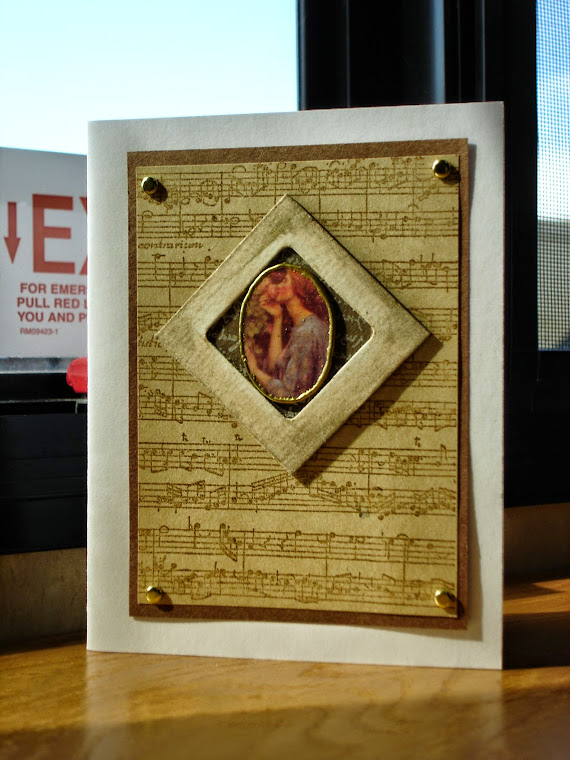
Brads give extra pop to a card. Can't afford to buy all those metallics and colors?
Take your 1/8 or 1/16 inch circle punch and punch them out of aluminum cans, yogurt container sealers, flaps from fancy gold Christmas card envies or colored cardstock. Then just
glue them to the corners of your card.
Want a fancy brad? Take a 3/16 flower punch, punch out flower, indent the center on a mousepad with a dry ballpoint pen or an embossing tool. Then punch the corners of the card layer you want to put the "brads" on with a 1/8 inch punch. Attach this layer to you base card. Put a teeny bit of tacky glue in the holes and on the back of the flower "brad". Insert in hole. The holes with the glue help to keep these 2 dimensional brads in place. (A tweezer helps a lot in glueing and placing them) See "Iris" photo on right.


No comments:
Post a Comment